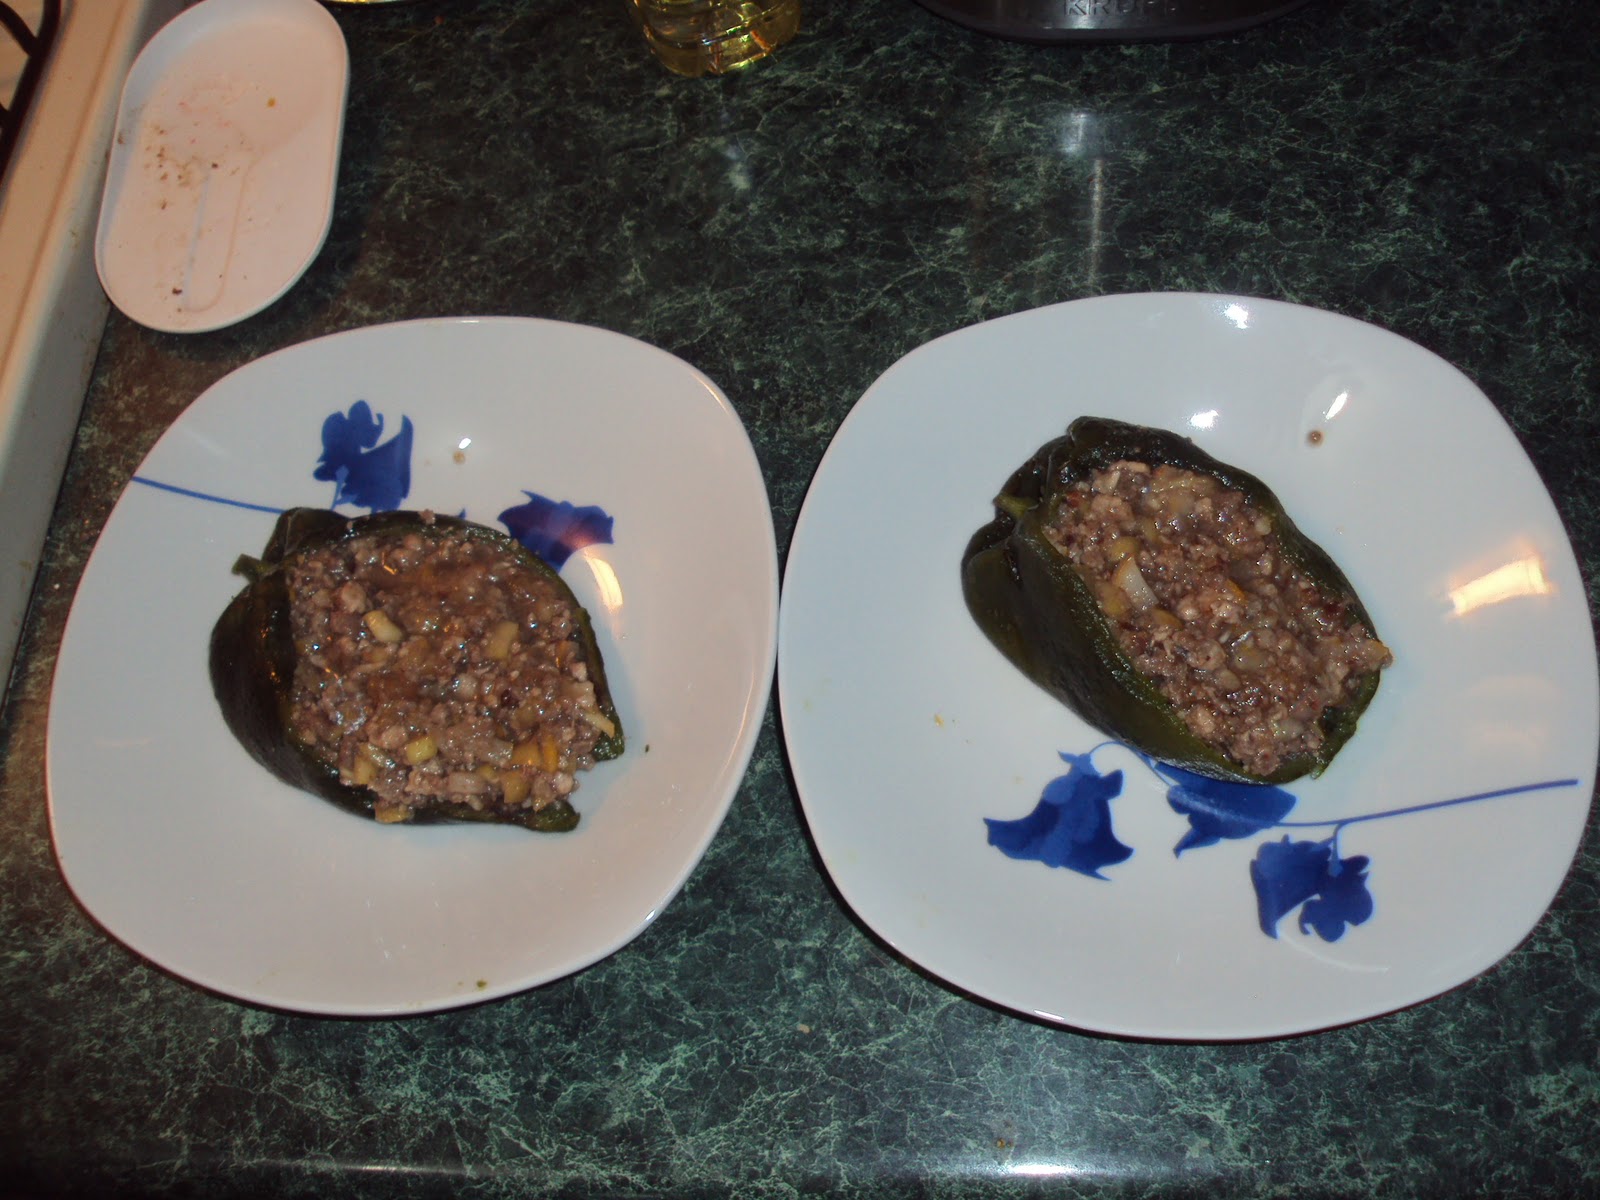
9.27.2011

Meatloaf


I always wanted to make meatloaf. Every time I go to the US, I try it. I love how it tastes!
I looked for many recipes, read them all and I also look for the Mexican recipe "pastel de carne" that is a very similar dish.
I decided to follow Alton Brown's Good Eats Meatloaf. I didn't follow every step, but added my own changes and ingredients and it was so good! My husband loved it! And me too...

So, in order to make this delicious meatloaf you will need:


Ingredients

  • 1 small old baguette (I used an old one because you need crumbs and it was already hard, couldn't use it in a sandwich)
  • 1/2 teaspoon ground black pepper
  • 1/2 teaspoon white pepper
  • 1/2 teaspoon garlic powder
  • 1 teaspoon chili powder
  • 1 teaspoon Knorr's Costilla Jugosa (powdered Homestyle Beef Flavor Stock)
  • 1/2 onion, roughly chopped
  • 1 carrot, peeled and broken
  • 3 whole cloves garlic
  • 1 green bell pepper
  • 1 lb ground chicken breast
  • 1 lb ground sirloin
  • 1 teaspoon salt
  • 1 egg
  • 3 oz cream cheese (I used Chipotle Philadelphia cream cheese)
  • 2 slices of American cheese (I used Kraft's Singles)
  • nonstick cooking spray


For the glaze:

  • 1/2 cup catsup
  • 1 teaspoon ground cumin
  • Dash Worcestershire sauce
  • Dash hot pepper sauce (I think Tabasco will be ok, I used "La viuda de Sánchez")
  • 1 tablespoon honey (I would recommend to use natural honey, not maple syrup)


Directions

Heat oven to 325 degrees F.
In a food processor bowl, combine baguette pieces, black pepper, white pepper, chili powder, and garlic powder. 


Pulse until the mixture is of a fine texture. Place this mixture into a large bowl. 


Combine the onion, carrot, garlic, and green pepper in the food processor bowl. 


Pulse until the mixture is finely chopped, but not pureed. 


Combine the vegetable mixture, ground sirloin, and ground chicken breast with the bread crumb mixture. 


Season the meat mixture with salt. Add the egg and the beef stock powder and combine thoroughly, but avoid squeezing the meat.


Prepare a baking tray with aluminum paper and spray with nonstick cooking spray (I used PAM) in it. If you don't have nonstick cooking spray, you can spread a little bit of vegetable oil or butter with a paper napking in the tray.


Take the meat mixture and make the meatloaf form with it, placing it in the center of the tray. Make a small canal in the middle of the meatloaf by taking out some meat and reserving it.


Place the American cheese slices in the middle canal and then top them with cream cheese. Cover the canal with the reserved meat mixture.


Place the meatloaf in the oven. It should take 45 minutes to cook.


In the meanwhile, combine the catsup, cumin, Worcestershire sauce, hot pepper sauce and honey. Brush half the glaze onto the meatloaf after it has been cooking for about 10 minutes.


Brush the other half of the glaze after it has been cooking for about 35 minutes. After 45 minutes have passed, change your oven to griller and leave the meatloaf for 6 minutes. Take it out and cool for 15 minutes before serving. 
In my experience, some of the American cheese spread in the top of the meatloaf. I do not have a problem with that, but if you do, try to make a bigger layer of covering meat for the canal.


I served it with mashed potatoes and salad.


For the salad I used Paul Newman's Poppy Seed dressing, cranberries and pecans.


NOTES: 
  • Instead of American cheese and cream cheese you can use only one of them, or you can use hard-boiled egg, ham, or whatever you like!
  • You can use other vegetables too: celery, a rainbow of peppers (orange, yellow, red and green), or whatever you like!


* November 1st
This is posted in the following linky party:


9.18.2011

Chiles en Nogada


I gotta confess, I thought I wouldn’t be able to cook this delicious Mexican dish, but I could! Now, I’m going to share with you my personal recipe, but you have to know, that this special dish is sweet, even when it is a “chile”, it’s more sweet than spicy. So, I hope you enjoy it and if you have any suggestions that could make these chiles taste better, you are welcome to share them with me!

This chile is originally from Puebla, Mexico and I live in North-East Mexico:


Anyway, let's go back to the recipe. 

So, for the chile filling you will need:
  • 300 gr lean ground beef
  • 300 gr lean ground chicken breast*
  • 2 garlic cloves finely chopped
  • 1/4 finely chopped onion
  • 1 medium apple finely chopped
  • 1 medium pear finely chopped
  • 1 large peach finely chopped
  • 1 handful dried cranberries*
  • 1 handful finely chopped pecans
  • 1 handful finely chopped almonds
  • 1/2 cup of quince paste finely chopped* (see notes at the bottom)
  • 1 lemon zest*
  • 3/4 cup sugar
  • 1/2 cup brown sugar
  • salt and white pepper
  • 2 tbsp vegetable oil

In a deep skillet heat vegetable oil with onion and garlic.


Stirring occasionally, wait until they are transparent and then add ground beef and ground chicken breast.


 Cook until the meat is no longer red.


Add the apple, peach and pear and cook for other 5 minutes, stirring occasionally.


Add the pecans, almonds and dried cranberries.


I chopped them in my food processor, you need to place them there with the regular razor and use the pulse button for 20 or 25 seconds.


When they are chopped, it should look like this:


After adding it to the skillet:


Add the lemon zest and the quince paste.


Oh! An intruder in my kitchen! Here's my husband, who was supposed to be watching TV upsatirs, smelling what I'm cooking. I guess the smell went upstairs and brought him down here haha...


Wow! It's looking good, huh? Add a pinch of salt and white pepper.


Keep stirring, and when everything is well cooked, add the sugar and stir.


Let it sit and cool.


Let me tell you something about the chiles. I cheated a little bit and bought some chiles that are already roasted and freeze, so I only had to defreeze them and take off all the seeds and veins. The roasting part may take you around 45 minutes to an hour, plus taking off the seeds and veins, maybe like 1 hour or 1:15 hours. You need to know that when roasting chiles and taking off seeds and veins may make your hands feel itchy, so you need to place them in running cool water for 5 minutes after finishing. If you want to roast the chiles, you will need a cast iron skillet and place it in high heat. Then, place the prewashed chiles there and leave them around 5 to 8 minutes (until their skin is pretty black) and turn them over. Do this with all the skin until all the chiles are black and then place them in a plastic bag and close it. This will let them sweat and will make the process of taking off all the burnt skin easier. Then, take off all the skin. Coming back to the recipe, let's see some pictures for the chiles process:

First, as I said before, I defreezed the chiles: 


Then, I took off all the seeds and veins (they are the super spicy part of chiles):


After taking these off, the chiles will look like these:


Now, fill the chiles with the filling you already prepared and cooled.


This is looking so beautiful!!

Now, we have to prepare the nogada sauce that will top the chile.

For the nogada sauce you will need:
  • 100 gr almonds
  • 100 gr pecans
  • 4 tsp milk
  • 1/2 tsp powder cinnamon
  • 2 tbsp cream (I used Lyncott, because is a little bit sweeter than others, do not use sour cream or liquid cream)
  • 200 gr of cream cheese (I used Philadelphia light spread)
  • 2 tbsp icing sugar


Place the cream cheese, cream, cinnamon and 2 tbsp of icing sugar in the hand mixer cup and start blending by pulse. Start adding the almonds and pecans to the cup and keep blending. Add the milk and the other tbsp of sugar and keep blending. You should have a thick sauce. It should not be so thick that you can’t spread it, but should not be transparent after placing it on the chile. You can make a test by getting some on your hand, it is very slowly starts spreading, the sauce is ready! It it spreads or drops very quickly, add more cheese cream (maybe one or two tbsp). If it stays and doesn’t move, add more milk.


Now, spread three of four tbsp of the nogada sauce on top of the filled chile. 


Top with pomegranate seeds:


I served my chile en nogada with red wine, you could use lemonade or coke.


Look at my husband, so happy eating the chile in nogada haha... He had never tried it before, and I really doubted that he would like it, because he likes spicy food. But he loved it! He even asked me to prepare one for him for lunch tomorrow.


I hope you try this recipe and you like it, if you have any ideas or suggestions for this recipe, please write me!

Makes 8 chiles

NOTES ABOUT THE ORIGINAL RECIPE:
  • The original recipes for these chiles are made with half lean ground beef and half lean ground pork, but I prefer chicken breast. That’s why I used lean ground chicken breast. You can use whatever you prefer like turkey, chicken, beef, pork, duck, or any combination you want to try!
  • The original recipes use raisins instead of cranberries, but I don’t like raisins, so I used cranberries.
  • Ate de membrillo is a regional candy in Mexico; you could use a not-so-sweet marmalade. Maybe orange marmalade? But not half a cup, maybe two or three tablespoons. I looked for it on Internet, and they mention it’s called Quince Paste (Quince Jam, Quince Jelly or Quince Pudding). The original recipe uses actiron. You could use it too (instead of the quince paste). I attach some pictures so you can see which one is acitron and which one is quince paste.
Acitron  
Ate de membrillo / quince paste 

  • The original recipe uses orange zest but I can't eat orange, so I used lemon.
  • And, finally, the original recipe uses walnuts, but I could not find walnuts in any supermarket, to I decided to use pecans.


~ oOo ~

So these chiles were a success, that I had 4 buying orders, a total of 18 chiles!


I guess I was a little tired... four hours later...